ES연습
만약 curl 명령어를 실행했을때 security에러가 뜬다면 -u 옵션을 사용해 (-u id:pw)를 추가해서 사용하자
#인덱스 생성
curl -XPUT http://localhost:9200/myindex?pretty
# 인덱스 조회
curl -X GET http://localhost:9200/myindex?pretty
# 인덱스 삭제
curl -X DELETE http://localhost:9200/myindex?pretty
myindex 라는 이름의 index를 컨트롤 해주고 뒤의 pretty을 쓰면 보기좋게 결과가 나온다.
# 데이터 삽입
curl -XPOST http://localhost:9200/myindex/data/1/?pretty
  -H 'Content-Type: application/json'
  -d '{"Data1" : "ElasticSearch", "Data2" : "Test Data"}'

# 데이터 조회
curl -X GET http://localhost:9200/myindex/_search?pretty
데이터 조회로 나온 결과값
{
  "took" : 537,
  "timed_out" : false,
  "_shards" : {
    "total" : 1,
    "successful" : 1,
    "skipped" : 0,
    "failed" : 0
  },
  "hits" : {
    "total" : {
      "value" : 1,
      "relation" : "eq"
    },
    "max_score" : 1.0,
    "hits" : [
      {
        "_index" : "myindex",
        "_type" : "data",
        "_id" : "1",
        "_score" : 1.0,
        "_source" : {
          "Data1" : "ElasticSearch",
          "Data2" : "Test Data"
        }
      }
    ]
  }
}
데이터 삽입 명령어를 보면
curl -XPOST http://localhost:9200/myindex/data/1/?pretty
-H 'Content-Type: application/json'
-d '{"Data1" : "ElasticSearch", "Data2" : "Test Data"}'
myindex 인덱스에 data타입으로 id는 1 id값이 없을경우 해쉬값으로 대체된다.(data/1/ 대신 data/)
-d 옵션을 통해 딕셔너리 형식으로 데이터를 넣어준다.
데이터 조회 명령어를 보면
curl -X GET http://localhost:9200/myindex/_search?pretty
myindex라는 인덱스에 _search라는 키워드를 통해 데이터를 조회하는 것이다.
KIBANA연습
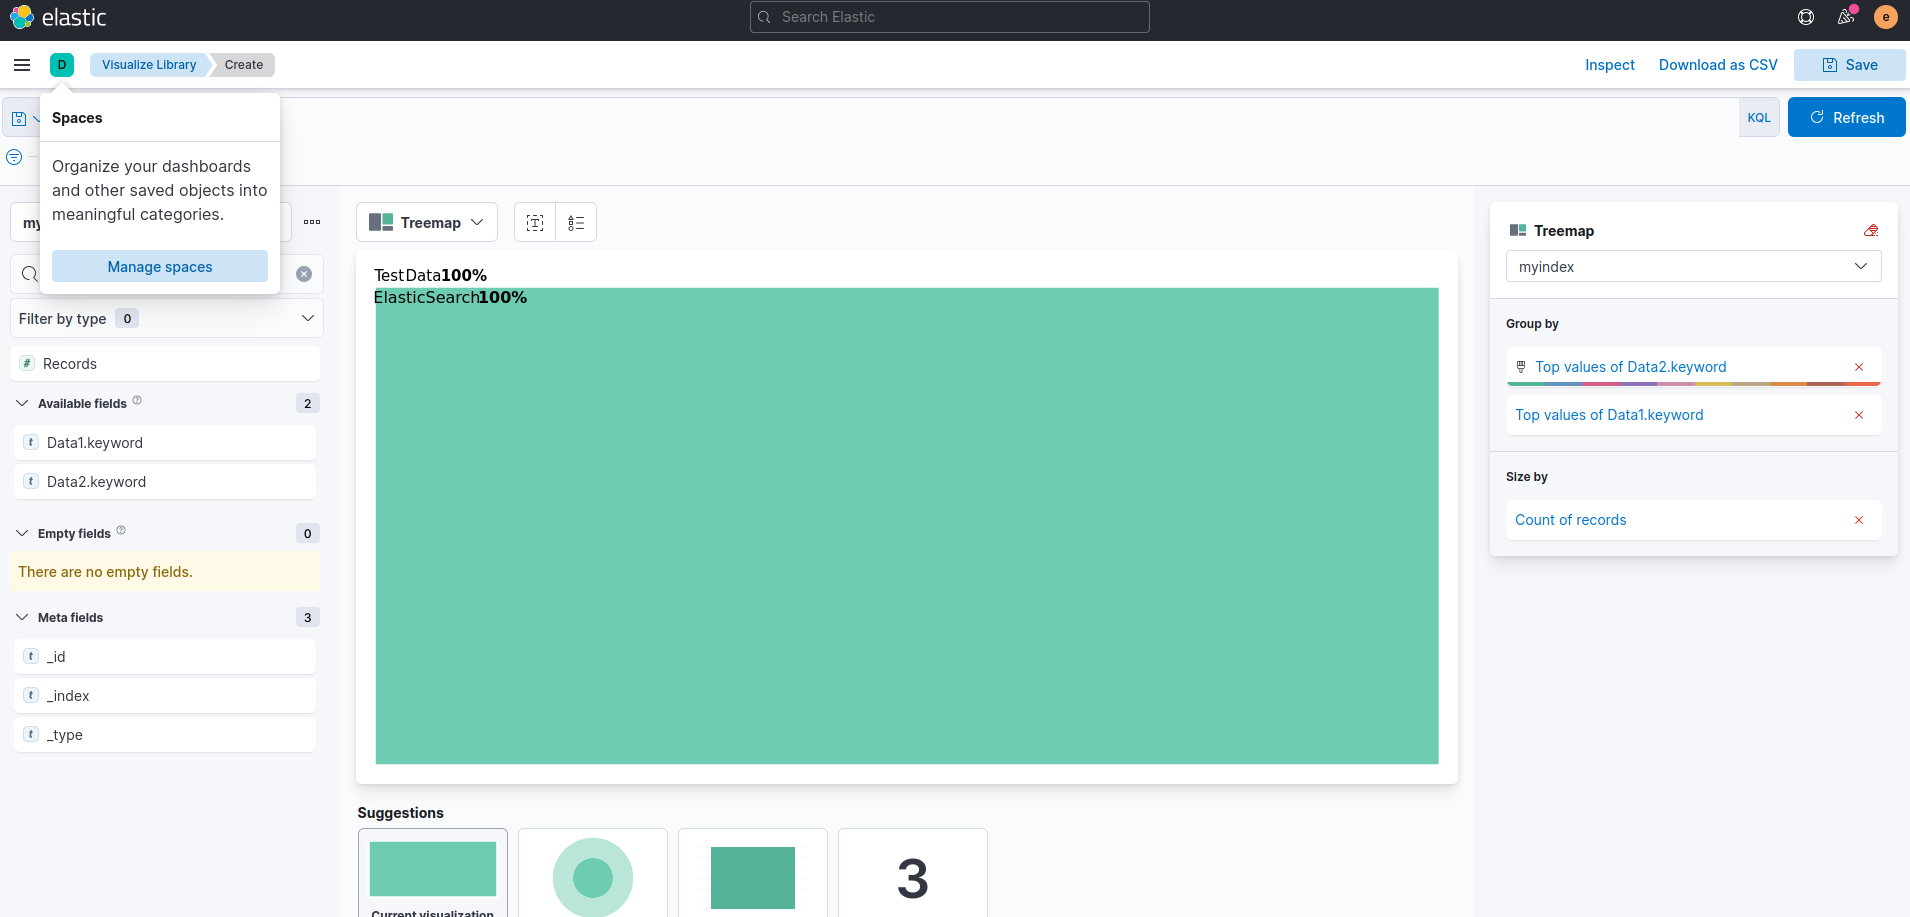
데이터 추가는 11시방향에 manage spaces 버튼을 눌러 index pattern에 들어가 데이터를 추가한다.
그후 사진처럼 Visualize에서 여러 시각화를 만들어 대쉬보드에 넣으면된다.
뭔가가 빠졌다 했더니 filebeat가 빠졌다. 해당 깃허브를 보니 간단한 명령어로 추가할수있다.
https://github.com/deviantony/docker-elk/tree/main/extensions/filebeat
GitHub - deviantony/docker-elk: The Elastic stack (ELK) powered by Docker and Compose.
The Elastic stack (ELK) powered by Docker and Compose. - GitHub - deviantony/docker-elk: The Elastic stack (ELK) powered by Docker and Compose.
github.com
$ docker-compose -f docker-compose.yml -f extensions/filebeat/filebeat-compose.yml up해당 명령어로 도커스택에 추가해서 사용하면 되는듯하다.
# 자신에게 맞게 yml파일 수정
vi /docker-elk/extensions/filebeat/config/filebeat.yml

filebeat.inputs:
- type: log
  enabled: true
  paths:
    - /var/log/*.log  # '*'을 이용하면 그경로내에 모든 log파일을 본다.

output.elasticsearch부분을 주석처리하고 output.logstash을 활성화 시켜주고 hosts부분을 자신에 맞게 입력해준다.
설정을 완료했으면
docker-compose -f docker-compose.yml -f extensions/filebeat/filebeat-compose.yml restart filebeat로 filebeat를 재시작하거나 그냥 docker down up 해도 될듯하다.
잘 되는듯했으나 elasticsearch에 자꾸 docker간의 로그가 입력이 됐다.
그래서 그냥 filebeat를 도커대신 실제 서버에 설치했다.
https://www.elastic.co/guide/en/beats/filebeat/current/filebeat-installation-configuration.html
Filebeat quick start: installation and configuration | Filebeat Reference [7.16] | Elastic
To test your configuration file, change to the directory where the Filebeat binary is installed, and run Filebeat in the foreground with the following options specified: ./filebeat test config -e. Make sure your config files are in the path expected by Fil
www.elastic.co
리눅스는 위의 링크를 참고해 설치를 하면된다. 예시로 nginx를 쓰는것같고 나는 대신 apache를 썼다.
설정해준 부분
#filebeat.yml
- type: log

  # Change to true to enable this input configuration.
  enabled: true

  # Paths that should be crawled and fetched. Glob based paths.
  paths:
    - /var/log/apache2/*.log


setup.kibana:

  # Kibana Host
  # Scheme and port can be left out and will be set to the default (http and 5601)
  # In case you specify and additional path, the scheme is required: http://localhost:5601/path
  # IPv6 addresses should always be defined as: https://[2001:db8::1]:5601
  host: "192.168.79.129:5601"


output.logstash:
  # The Logstash hosts
  hosts: ["192.168.79.129:5044"]
설정을 알맞게 한 후
sudo ./filebeat -e을 해주면 끝!
나의 경우 logstash pipeline설정에서 elasticsearch 설정 index => "elk-%{+YYYY.MM.DD}"로 해놨기때문에 각 로그의 날짜가 찍혀 elasticsearch index 로 추가된다. kibana에서 index pattern을 설정해줄때 elk-*로 해줬고 discover 창에서 보면

이렇게 방금 들어간 apache2서버에서 로그를 filebeat가 수집해 logstash가 필터링과 가공을 하고 elasticsearch에 추가 되어 kibana로 볼수있는것을 알 수 있다.
'꿀팁!' 카테고리의 다른 글
| Pandas를 이용한 데이터 정리 (0) | 2022.02.03 |
|---|---|
| ELK 공부 4 (2) | 2022.01.24 |
| ELK공부2(Docker-Compose를 이용한 구축) (0) | 2022.01.11 |
| 회사의 윈도우용 SSL 인증서를 ubuntu에 설치하기 (4) | 2022.01.05 |
| ELK 공부 (0) | 2022.01.05 |


